
Symptom
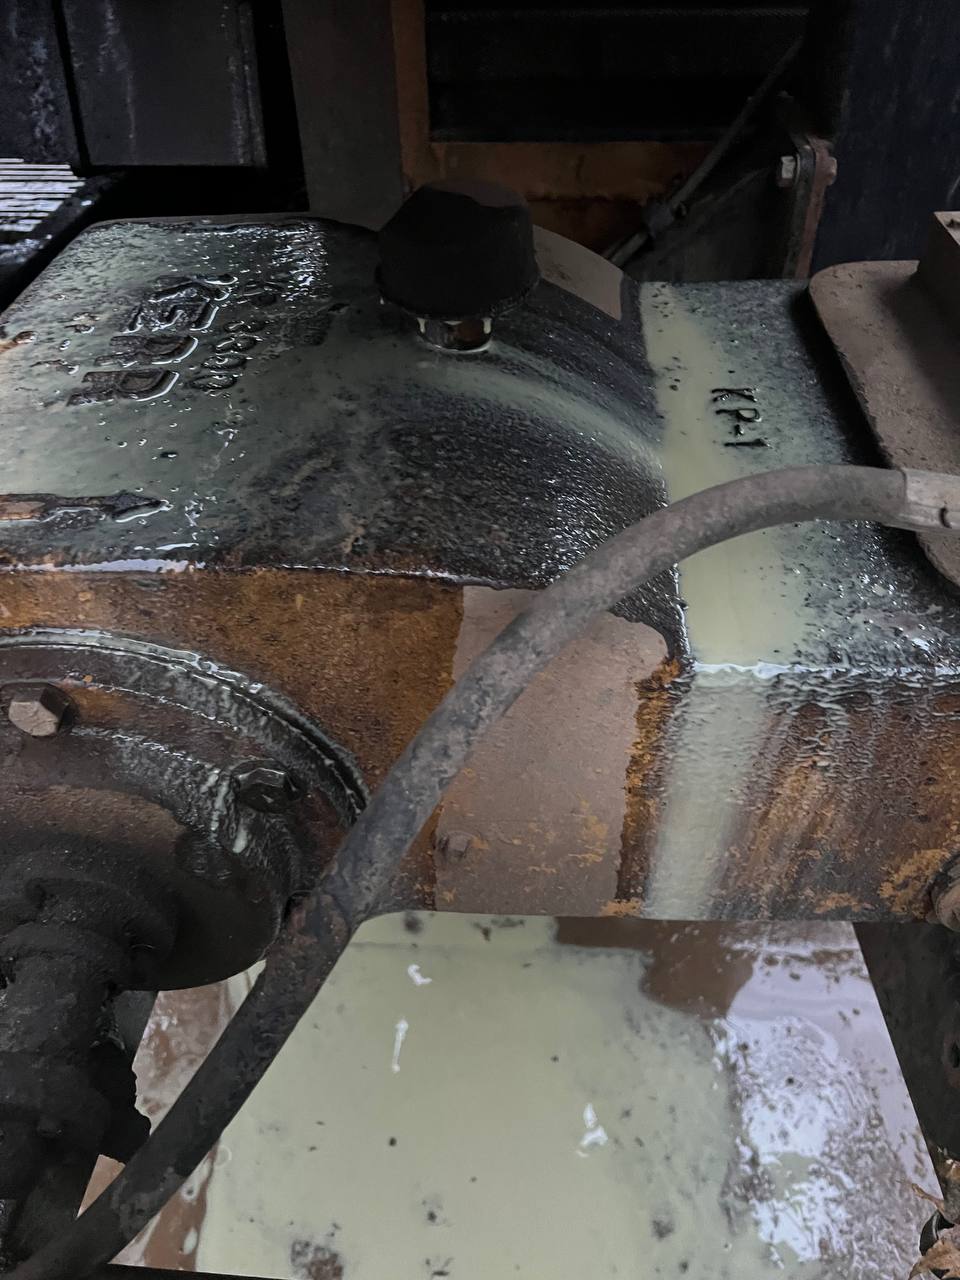
During drilling operations, drilling fluid or emulsion begins to exit through the breather of the crankcase. This indicates that the working fluid has entered the power end (crankcase) from the hydraulic end, most often through the pony/extension rod seal assembly and the distance piece.
Quick Breakdown of Causes (From Typical to Rare)
- Wear/extrusion of rod packings (packing, oil seals, wiper): fluid leaks along the rod, passes into the distance piece, then into the crankcase, and is expelled through the breather.
- Damage to seals and wipers of the distance piece: cracks, chipping, loss of elasticity.
- Clogging of drainage (weep) holes in the distance piece: leaks are not discharged outside and flow into the crankcase.
- Rod defects: ovality, scratches, burrs — new seals will leak quickly.
- Critical wear of plunger/liner pair: excessive leakage accelerates seal failure.
- Seal material not compatible with drilling fluid chemistry/temperature: NBR/HNBR/FKM and fabric composites must be selected by environment.
- Loss of sealing between sections (rare): casting or bolting defects.
- Pressure surges and water hammers: extrusion of packings, growth of vibration and wear.
Diagnostics Checklist (1–2 Hours On-Site)
- Check the breather and crankcase ventilation filter: ensure no clogging; assess the amount of emulsion.
- Inspect oil condition: ‘coffee with milk’ color or presence of solids confirms fluid ingress.
- Open the distance piece: make sure drainage/weep holes are clean and dry.
- Disassemble rod seal assembly: look for extrusion marks, ruptures, residual packing compression.
- Measure rods: check ovality with micrometer, inspect scratches/burrs, concentricity and runout.
- Inspect liners and plungers: wear, overheating, abrasives; correlate with pressure and vibration.
- Verify seal material compatibility with drilling fluid chemistry and temperature.
Case Study: ‘No Water Pressure’ on Vermeer 24×40
24×40 rig was disassembled. Plungers, seats, and valve assemblies were checked. The main problem was identified in sealing elements — valve rubbers responsible for tightness and pressure generation.
- Several valves had severely worn rubbers, and two were missing completely.
- Valve rubbers are consumables under constant pressure and abrasive load; their condition must be checked every 300–500 operating hours.
- Only 2 out of 6 valves partially performed the sealing function — the pump could not build pressure.
- Backflow occurred: the fluid was circulating without building pressure, sharply accelerating wear of seats and valve components.
- Without a damping rubber insert, metal-to-metal contact caused chipping, microcracks, deformation, and vibration growth.
Solution: replace 4 valve rubbers and 2 most worn valves in assembly. This restored pressure at minimal cost and reduced the risk of repeated downtime.